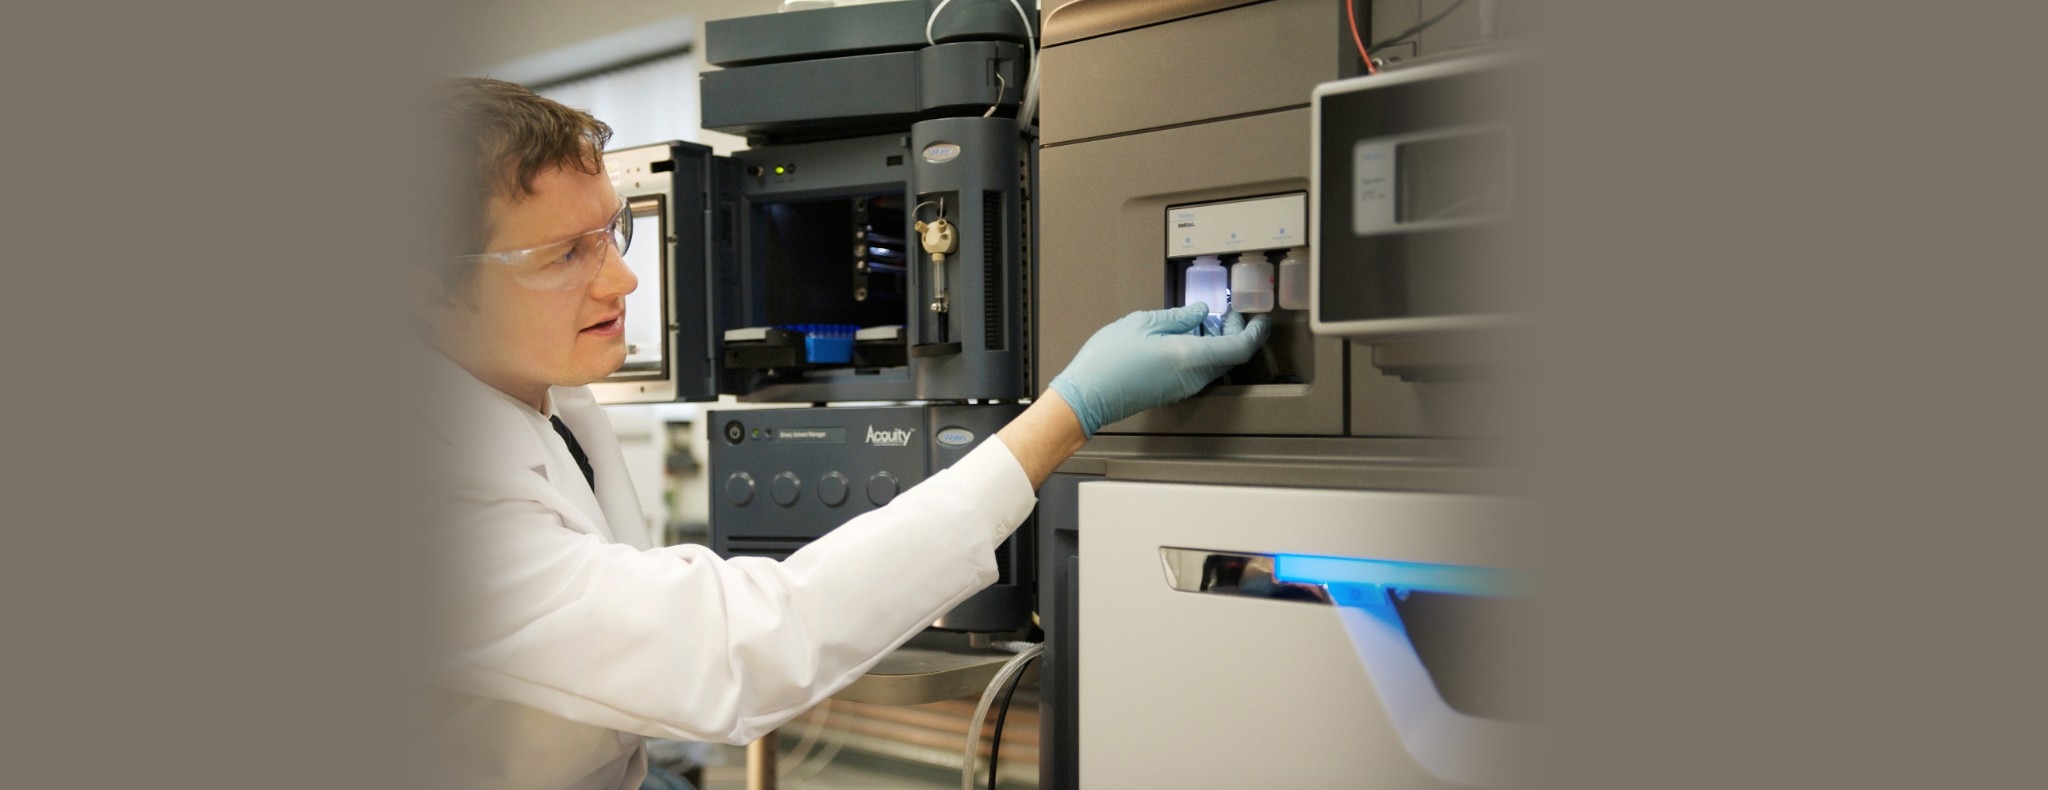
Waters offers a comprehensive range of analytical system solutions, software, and services for scientists. Liquid Chromatography. Mass Spectrometry. Waters is the leading provider of lab equipment, supplies and software for scientists across the world. Easily research and order everything your lab needs! Waters offers a comprehensive range of analytical system solutions, software, and services for scientists. Liquid Chromatography. Mass Spectrometry. Waters is the leading provider of lab equipment, supplies and software for scientists across the world. Easily research and order everything your lab needs!
To prevent system errors, replace the TUV detector's flow cell any time it appears dirty, contaminated, or clogged.
See also:Controlling Contamination in LC/MS Systems (715001307).
Required tools and materials
Chemical-resistant, powder-free gloves
Protective eyewear
1/4-inch flat-blade screwdriver
Acetonitrile (if using for step 9)
HPLC-grade methanol
HPLC-grade water
Replacement flow cell
To replace the TUV detector's flow cell:
Warning: To avoid eye injury, use eye protection when performing this procedure.
Note:
To avoid contaminating the flow cell, wear clean, chemical-resistant, powder-free gloves when handling, removing, or replacing it.
To avoid damaging the flow cell, handle it with care. Do not disassemble the flow cell.
Via the system's touchscreen, ensure that the detector lamp's power status is "off".
Tap MAINTAIN > Replace Components > Replace Flow Cell > NEXT > NEXT > START and follow the on-screen prompts.
Open the detector door, gently pulling its right-hand edge toward you.
Before removing and putting it into storage, Waters recommends that you flush the old flow cell. Select a solvent compatible with the samples and mobile phases that you have been using. If you have been using buffers, flush the cell with 10 mL of HPLC-grade water and then flush with 10 mL of a low-surface-tension solvent, such as methanol.
Requirement: Ensure that the solvent used is miscible with the previous mobile phase.
Disconnect the detector’s inlet and outlet tubing.
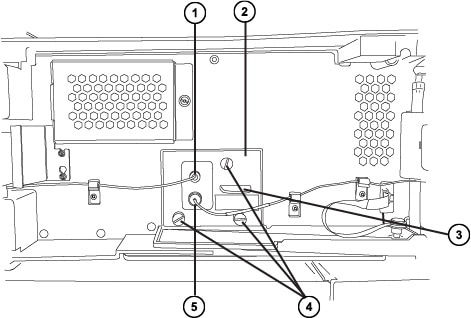
Figure 1: Locating the flow cell (TUV detector door open view)
Outlet tubing
Flow cell assembly
Flow cell handle
Thumbscrews (3)
Inlet tubing
Remove the flow cell:
Using the screwdriver, loosen the three thumbscrews on the flow cell assembly’s front plate.
Remove the flow cell by grasping its handle and gently pulling the assembly toward you.
Unpack and inspect the new flow cell, ensuring that the flow cell type is correct for your application.
Note: When replacing the flow cell, replace the flow cell inlet tubing with the tubing included with the new flow cell.
Install the new flow cell:
Align the flow cell assembly with the front of the opening, and then insert it slowly so that its two alignment receptacles (on the rear face of the front part of the cell flange) engage the pins in the cell compartment.
Tip: As you insert the cell, its drip tray helps ensure proper alignment of the compartment's pins and the cell flange's receptacles.
Figure 2: Installing the TUV detector's flow cell assembly
Compartment alignment pin (2)
Internal flow cell ID chip connector
Thumbscrew (3)
Flow cell handle (label underneath will differ depending on cell type)
Cell flange alignment receptacle (2)
Flow cell ID chip
Drip tray
Thumbscrew (3, rear view)
Continue inserting the flow cell until the three thumbscrews align with their holes in the bulkhead.
Hand tighten the thumbscrews, and then verify that the screws are secure using the screwdriver.
Connect the inlet tubing to the main column connection and flow cell inlet, and then connect the outlet tubing to the flow cell outlet.
Ensure that the flow cell is filled with degassed, transparent solvent (water or acetonitrile) that is free of air bubbles.
On the system's touchscreen, tap Maintain > Calibrate Detector > Verify Calibration.
Note: If verification fails, troubleshoot, flush the flow cell, and then reattempt verification. If verification still fails, tap
Maintain > Calibrate Detector > Calibrate Wavelengths.